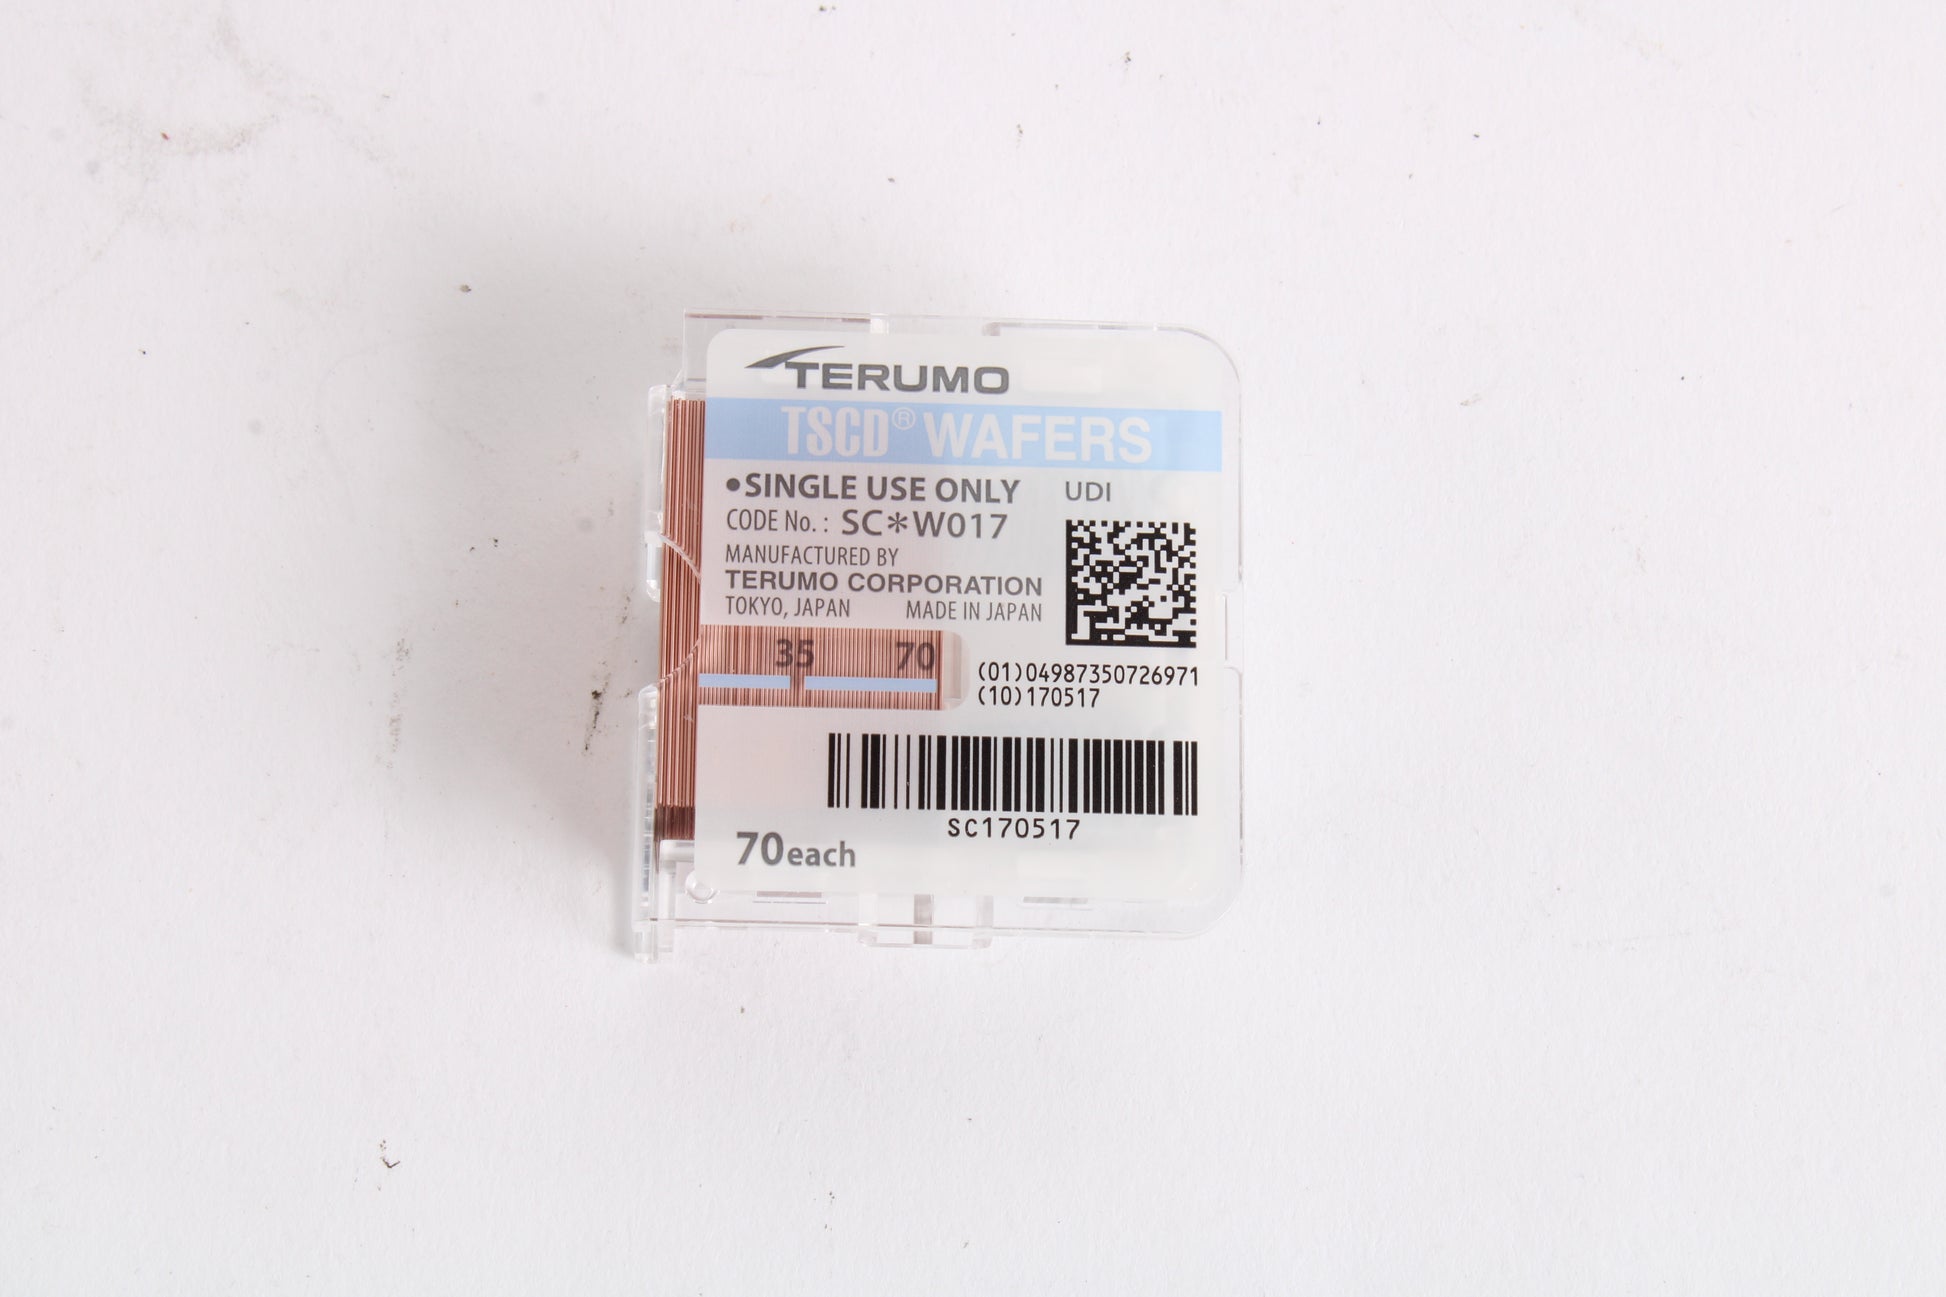
Preventive Maintenance for Terumo TSCD Wafers
Complete preventive maintenance guide for Terumo TSCD wafers including schedules, procedures, and calibration protocols for biomedical technicians.
Preventive Maintenance for Terumo TSCD Wafers
Proper preventive maintenance ensures optimal performance and extends the service life of Terumo TSCD wafers. This comprehensive maintenance guide provides scheduled procedures, calibration protocols, and documentation requirements for biomedical equipment technicians.
Overview
TSCD wafers require regular maintenance to maintain temperature sensing accuracy and prevent premature failure. A structured preventive maintenance program reduces unscheduled downtime and ensures reliable operation in critical medical applications.
Maintenance Schedule
| Task | Frequency | Duration | Difficulty Level |
| Visual Inspection & Cleaning | Daily | 10 minutes | Basic |
| Connection Point Service | Weekly | 20 minutes | Intermediate |
| Calibration Verification | Monthly | 45 minutes | Advanced |
| Electrical Testing | Quarterly | 60 minutes | Advanced |
| Complete System Validation | Semi-annually | 120 minutes | Expert |
| Component Replacement | Annually | 90 minutes | Expert |
| Component | Service Life | Part Number | Replacement Complexity |
| Temperature Sensor | 2 years | TSCD-TEMP-001 | High |
| Connection Cables | 3 years | TSCD-CABLE-002 | Medium |
| Protective Housing | 5 years | TSCD-HOUS-003 | High |
| Internal Batteries | 2 years | TSCD-BATT-004 | Medium |
Replacement Procedures
Temperature Sensor Replacement:
1. Preparation:
- Obtain replacement sensor (exact part match)
- Gather specialized tools
- Review technical documentation
- Plan system downtime
2. Removal:
- Power down and isolate system
- Remove protective housing carefully
- Disconnect sensor wiring (note wire positions)
- Remove sensor mounting hardware
- Clean mounting surfaces
3. Installation:
- Install new sensor with proper thermal contact
- Apply thermal compound as specified
- Reconnect wiring with correct polarity
- Secure all mounting hardware
- Reassemble protective housing
4. Validation:
- Perform complete calibration sequence
- Test full temperature range
- Verify alarm functions
- Document installation and testing
Safety Precautions
⚠️ CRITICAL SAFETY REQUIREMENTS
- Always follow lockout/tagout procedures before maintenance
- Use only approved replacement parts and materials
- Verify electrical isolation before beginning work
- Wear appropriate PPE including insulated gloves
- Never bypass temperature safety limits during testing
- Maintain proper documentation for regulatory compliance
- Test all safety functions after maintenance completion
- Follow hospital biomedical equipment policies
Troubleshooting During Maintenance
Common Issues and Solutions
Calibration Drift:
- Typical cause: Sensor aging or contamination
- Solution: Clean sensor, recalibrate, or replace if drift >2°C
- Prevention: Regular calibration schedule adherence
Connection Corrosion:
- Typical cause: Moisture infiltration or chemical exposure
- Solution: Clean connections, apply protective coating
- Prevention: Regular inspection and maintenance
Erratic Readings:
- Typical cause: Electrical interference or poor connections
- Solution: Check grounding, inspect cable integrity
- Prevention: Proper cable routing and shielding
Documentation and Record Keeping
Required Records
Maintain comprehensive documentation for each TSCD wafer:
Maintenance Log:
- Date and type of maintenance performed
- Technician identification
- Parts replaced or serviced
- Calibration results and adjustments
- Next service due date
Performance History:
- Calibration drift trends
- Component failure patterns
- Environmental condition impacts
- Usage statistics and hours of operation
Regulatory Compliance:
- Maintenance schedule adherence
- Calibration traceability
- Staff training records
- Incident reports and corrective actions
External References
1. Terumo TSCD Maintenance Manual Rev. 3.2 (terumo-medical.com/service-documentation)
2. FDA Medical Device Maintenance Guidelines (fda.gov/medical-devices/maintenance)
3. OSHA Medical Equipment Safety Standards (osha.gov/medical-equipment)
*Last Updated: November 9, 2025*
*Reading Time: 9 minutes*
---
⚠️ Important: This guide summarizes safe repair practices based on industry best practices and manufacturer guidelines. Always consult the official manufacturer manual for model-specific procedures. Medical equipment repair should only be performed by qualified personnel.