Infusion Pump Maintenance: Terumo TE-Series Guide
Detailed maintenance guide for Terumo TE-Series infusion pumps covering daily checks, calibration procedures, and component service.
Infusion Pump Maintenance: Terumo TE-Series Guide
The Terumo TE-Series infusion pumps require systematic preventive maintenance to ensure accurate medication delivery and patient safety. This guide provides comprehensive maintenance procedures for biomedical equipment technicians.
Overview
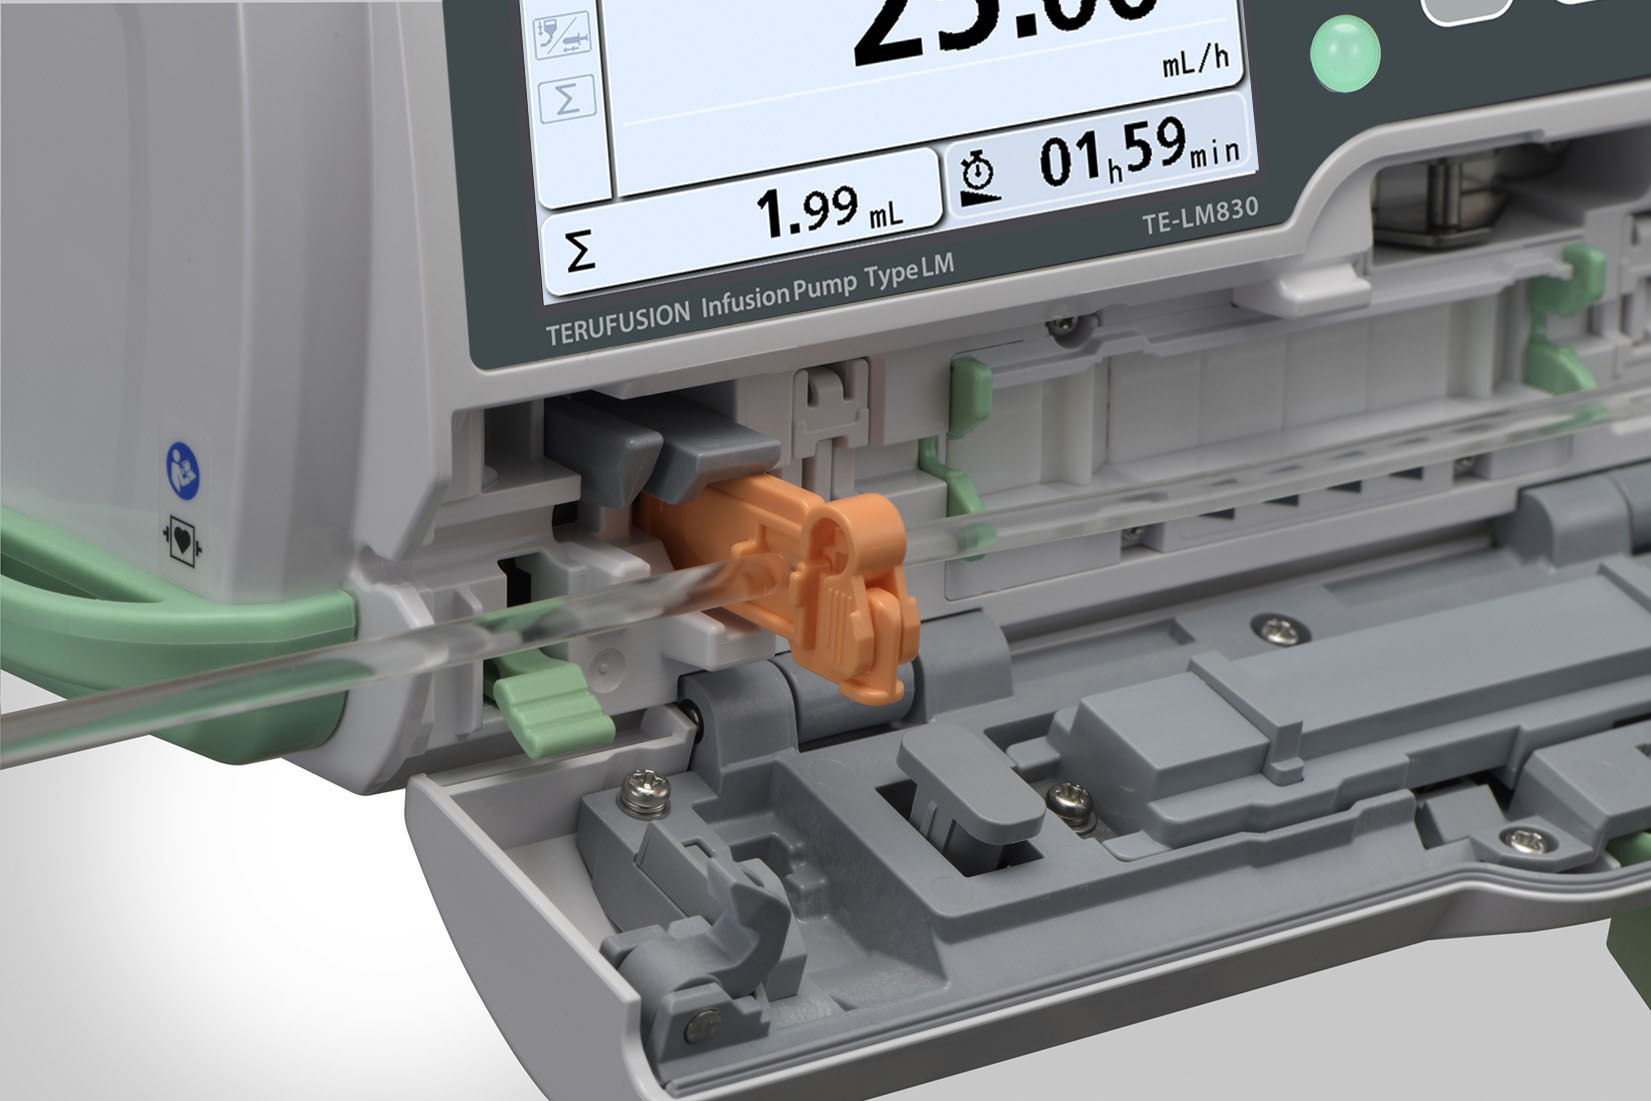
TE-Series pumps utilize advanced peristaltic pump mechanisms with electronic flow control. Regular maintenance prevents accuracy drift, mechanical wear, and electronic failures that could compromise patient care.
Maintenance Schedule
| Maintenance Type | Frequency | Duration | Complexity |
| Basic Function Check | Daily | 5 minutes | Basic |
| Cleaning & Sanitization | Daily | 15 minutes | Basic |
| Flow Accuracy Verification | Weekly | 30 minutes | Intermediate |
| Mechanical Inspection | Monthly | 45 minutes | Advanced |
| Electronic Calibration | Quarterly | 90 minutes | Expert |
| Complete Overhaul | Semi-annually | 180 minutes | Expert |
| Test Flow Rate | Test Duration | Expected Volume | Tolerance |
| 1 mL/hr | 60 minutes | 1.0 mL | ±5% |
| 5 mL/hr | 60 minutes | 5.0 mL | ±5% |
| 25 mL/hr | 30 minutes | 12.5 mL | ±3% |
| 100 mL/hr | 15 minutes | 25.0 mL | ±3% |
| Component | Inspection Points | Action Required | |
| Pump Rotors | Wear, cracks, debris | Clean, replace if worn | |
| Pressure Plate | Alignment, wear marks | Adjust, replace if damaged | |
| Springs | Tension, corrosion | Replace if weak/corroded | |
| Bearings | Smooth operation | Lubricate, replace if rough |
Rotor Replacement Procedure:
1. Remove old rotors using proper tool
2. Clean rotor mounting surfaces
3. Install new rotors with correct orientation
4. Apply specified torque (2.5 Nm)
5. Verify smooth rotation
6. Reassemble pump head
Motor System Evaluation
Electric motor and drive system:
Motor Performance Testing:
- Measure motor current draw (normal: <150mA)
- Check motor speed regulation
- Test encoder feedback accuracy
- Verify motor mounting security
- Listen for unusual noises
Drive System Inspection:
- Check gear train for wear
- Verify proper lubrication
- Test backlash and play
- Inspect coupling integrity
- Document any abnormalities
Quarterly Electronic Calibration
Flow Sensor Calibration
Ensures accurate flow detection:
Calibration Equipment:
- Certified flow reference standard
- Oscilloscope for signal analysis
- Precision voltage source
- Manufacturer calibration software
Sensor Calibration Procedure:
1. Signal Analysis:
- Monitor sensor output waveform
- Check signal amplitude and frequency
- Verify sensor supply voltage (5V ±0.25V)
- Test signal-to-noise ratio
2. Calibration Adjustment:
- Access service calibration mode
- Run pump at known flow rate
- Adjust calibration factor to match reference
- Test multiple flow rates for linearity
- Save calibration parameters
Pressure Monitoring System
Critical for occlusion detection:
Pressure Sensor Testing:
1. Static Pressure Test:
- Apply known pressure (0-300 mmHg)
- Verify sensor output accuracy
- Check pressure alarm thresholds
- Test pressure release function
2. Dynamic Response Test:
- Create pressure ramps
- Measure sensor response time
- Should be <1 second to 90% reading
- Test over full pressure range
Display and Interface Calibration
User interface accuracy:
Touchscreen Calibration (if applicable):
- Access calibration mode
- Follow screen touch sequence
- Verify touch accuracy at all points
- Test screen sensitivity
- Calibrate display brightness
Button Response Testing:
- Test all buttons for proper response
- Check tactile feedback
- Verify button legends legibility
- Test button lighting (if present)
Semi-Annual Complete Overhaul
Major Component Service
Comprehensive system restoration:
Power Supply Service:
1. AC Power Section:
- Measure input voltage regulation
- Test power factor correction
- Check for electromagnetic interference
- Verify grounding integrity
2. DC Power Rails:
- Measure all DC voltages (±5V, ±12V, 24V)
- Check ripple and noise levels
- Test load regulation
- Verify over-current protection
3. Battery System:
- Test battery capacity (should be >80% rated)
- Check charging circuit operation
- Verify backup power duration (minimum 4 hours)
- Replace battery if capacity degraded
Software and Firmware Updates
Keep system current with latest versions:
Update Procedure:
1. Backup Current Configuration:
- Save all calibration parameters
- Document current software versions
- Export pump settings and logs
2. Software Installation:
- Download latest firmware from manufacturer
- Follow installation procedure exactly
- Verify update completion
- Test all functions after update
3. Configuration Restoration:
- Restore calibration parameters
- Verify all settings correct
- Test pump operation thoroughly
- Update documentation
Safety Precautions
⚠️ CRITICAL SAFETY REQUIREMENTS
- Never perform maintenance with power applied
- Use only manufacturer-approved parts and lubricants
- Follow lockout/tagout procedures during service
- Test all safety systems after maintenance
- Verify pump accuracy before returning to service
- Maintain sterile technique when handling pump components
- Never defeat or bypass safety interlocks
- Ensure proper grounding during electrical testing
Performance Documentation
Maintenance Records
Complete documentation required:
Daily Inspection Logs:
- Date, time, and technician ID
- Inspection checklist completion
- Any anomalies noted
- Actions taken
- Next service due
Calibration Records:
- Calibration date and procedure
- Reference standards used
- Before/after measurements
- Adjustments made
- Acceptance criteria met
- Technician certification
Component Service History:
- Parts replaced and dates
- Service procedures performed
- Performance trends
- Failure analysis reports
- Cost tracking
Troubleshooting Common Issues
Flow Rate Inaccuracy
Most common pump problem:
Diagnostic Steps:
1. Check tubing installation
2. Verify tubing type compatibility
3. Inspect pump head for wear
4. Test flow sensor calibration
5. Check for air bubbles
6. Verify proper priming
Correction Methods:
- Recalibrate flow sensor
- Replace worn pump components
- Use correct tubing sets
- Improve priming technique
Alarm Malfunctions
Safety system integrity issues:
Common Alarm Problems:
- False occlusion alarms
- Intermittent air detection
- Battery alarm errors
- Flow rate deviation alerts
Resolution Approach:
- Clean optical sensors
- Adjust alarm thresholds
- Replace faulty sensors
- Update alarm software
External References
1. Terumo TE-Series Service Manual (terumo-infusion.com/service-support)
2. FDA Infusion Pump Safety Communications (fda.gov/medical-devices/infusion-pumps)
3. OSHA Healthcare Equipment Maintenance Standards (osha.gov/healthcare)
*Last Updated: November 9, 2025*
*Reading Time: 10 minutes*
---
⚠️ Important: This guide summarizes safe repair practices based on industry best practices and manufacturer guidelines. Always consult the official manufacturer manual for model-specific procedures. Medical equipment repair should only be performed by qualified personnel.